Garage Door Cable Repair
Looking for a Service to Repair Garage Door Cables? Garage Color is your go-to service!
The wires on your garage door are yet another crucial element that ensures the flawless operation of your door and your day-to-day convenience.
If your garage doors fail, our safety is in jeopardy and our daily schedule. What will you do if some components of your garage door quit functioning? We’ll offer advice on how to repair the wires on your own so you can power your garage door again.
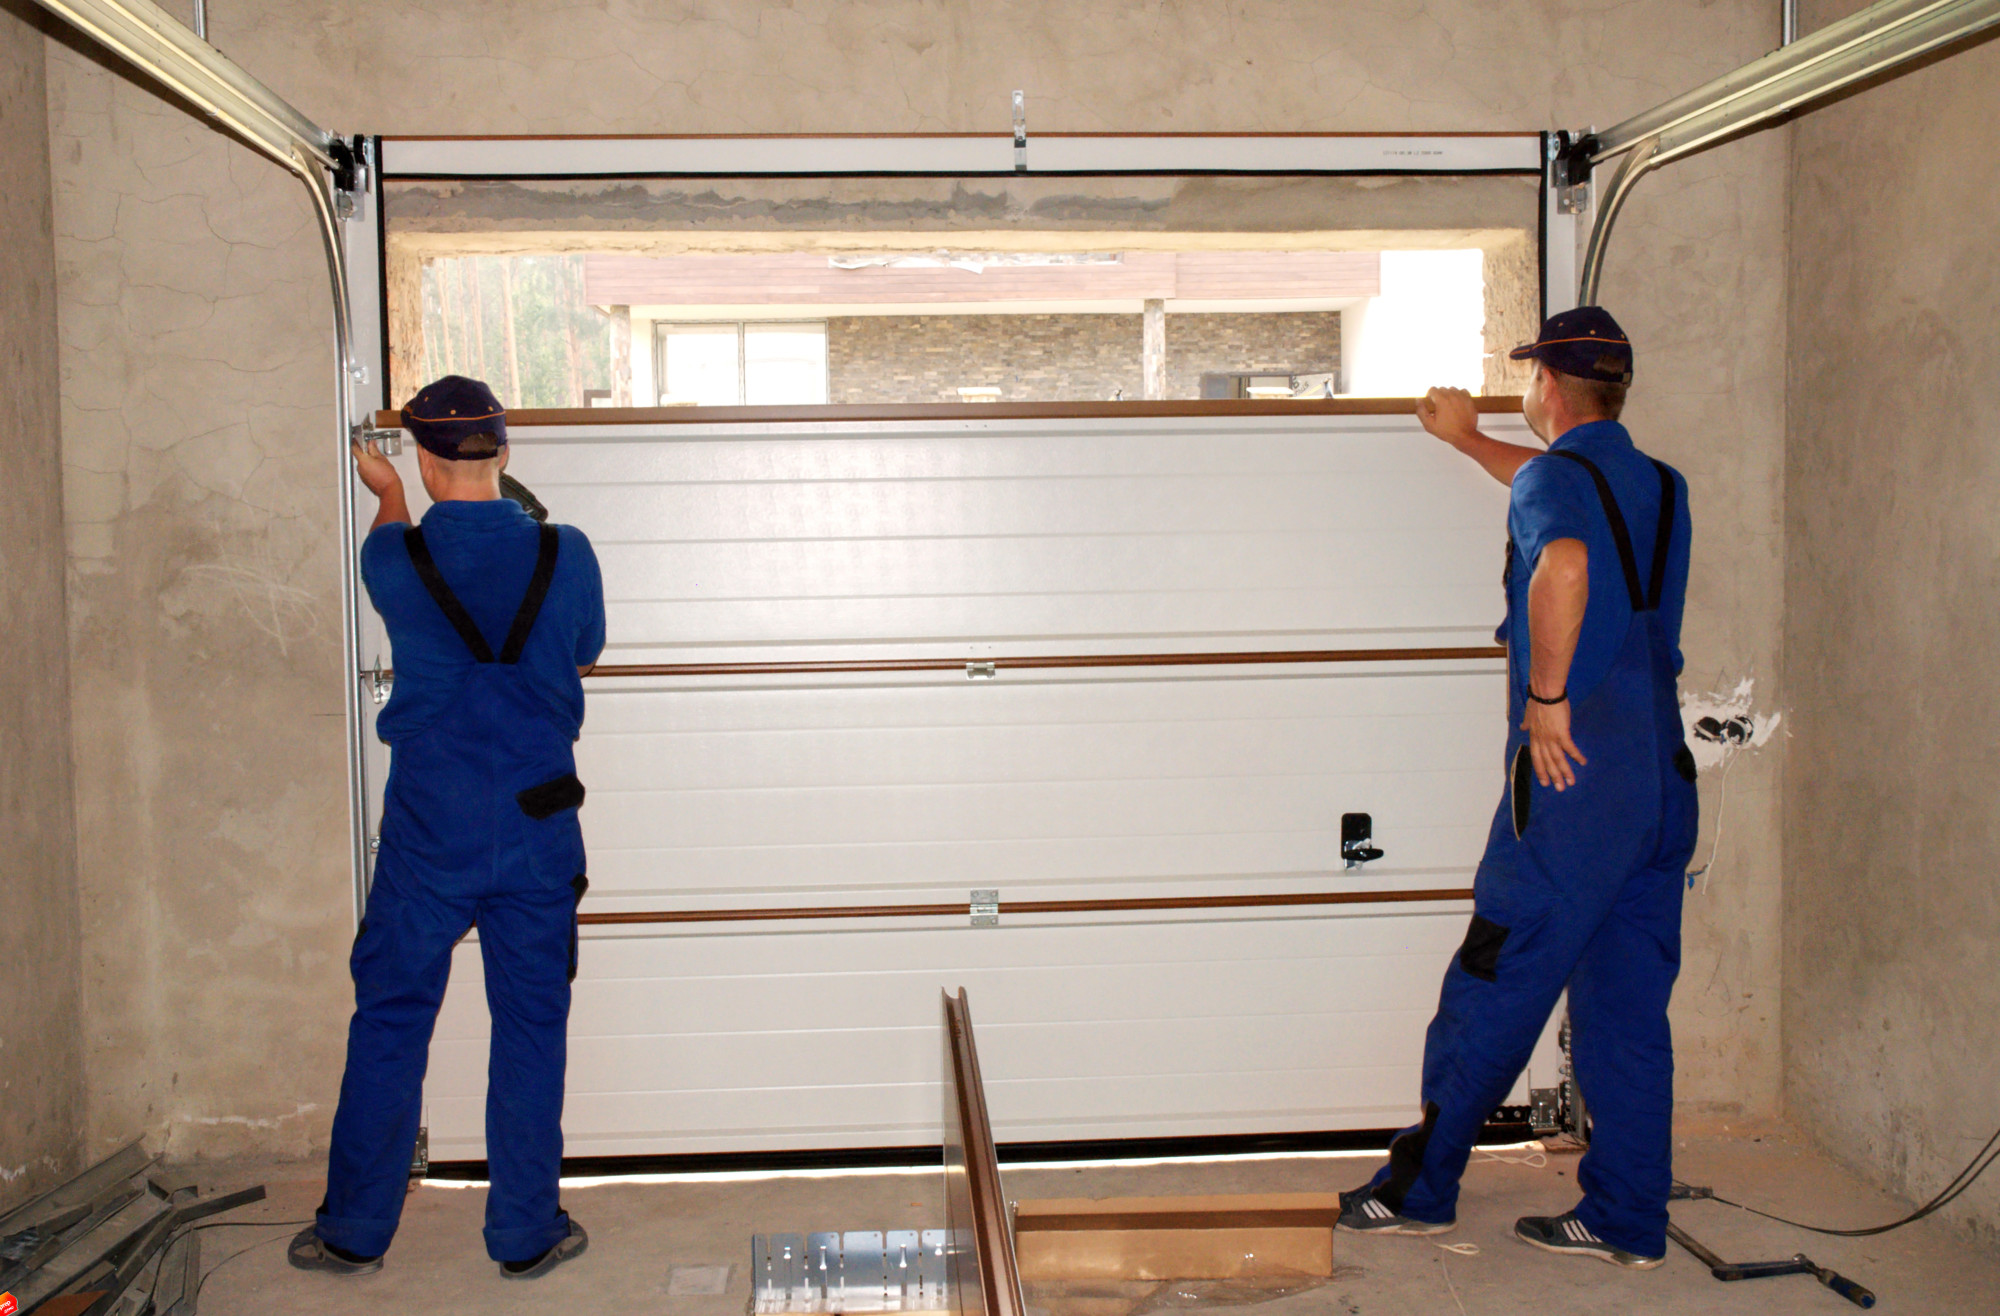
Our Garage Door Cable Repair Service
Cable Inspection and Diagnosis
When you contact us for garage door cable repair, our expert technicians will begin by conducting a thorough inspection of your garage door cables. We’ll examine the condition of the cables, checking for signs of fraying, wear, or damage. Our technicians will assess the severity of the issue and determine if repair is possible or cable replacement is necessary.
Cable Repair
In some cases, damaged garage door cables can be repaired to restore functionality. Our skilled technicians will carefully examine the cables and employ specialized techniques to address the specific issues. From repairing frayed sections to realigning cables, we’ll utilize our expertise to ensure proper cable operation. Our goal is to provide reliable repairs that extend your cables’ lifespan and improve your garage door’s overall performance.
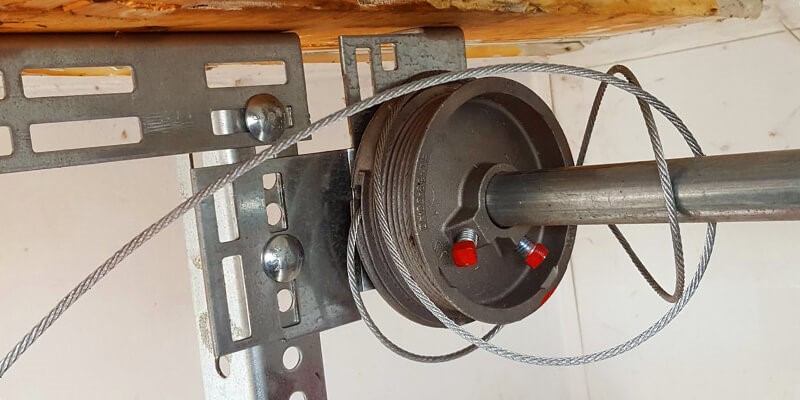
How Are Your Garage Door Cables Doing?
Garage door cables stretch cables across the torsion drum and attach to raise the entrance to the bottom fixture while being powered by the spring mechanism in the bottom fixture. In contrast to certain springs that fail when the garage door is already closed, garage door cables typically give a warning before a complete catastrophe.
Reasons for Replacement
Roping Cable:
Old, Tired Cables
It is caused by the torsion drums and pressure of your garage door stretching the cable, which is the first indication of garage door cable fatigue.
Door Cable Coiled
It is the second warning about cable drowsiness. This looping reduces and increases the fraying risk generated by superfluous roping and removal from the individual cable fibers. The cables have loose loops.
Garage Door Cable That Is Fraying
This is the third sign that you should cut your cable, following Roping, Looping, and Fraying—visible cracks in the cable connecting the various garage door fibers.
From here, the only problem you will experience is the garage door cable, so you are strongly urged to replace it. If you let that one slide, it can cause a serious issue with the garage door.
From here, the only problem you will experience is the garage door cable, so you are strongly urged to replace it. If you let that one slide, it can cause a serious issue with the garage door.
Damage Inflicted Outside Of Regular Use Kinked Cables
Kinks in your garage door cable are typically caused by either an off-track garage door situation or improper garage door cable repair, mostly on drums.
To prevent fraying or potential spooling problems in the future, we advise disconnecting the garage door cable if it is kinked.
Even the grooves for wire tugging on drums will start to disappear. When these flatten out, the cable rolls automatically, and the fibers are broken. In addition to being hammered down by the sharp edges of cable creation, which can cut wire fibers, drums can produce burrs that damage cords. Do not cut your torsion cables if you don’t want to cause extra issues.
When Will You Notice A Problem With Your Garage Door Cable?
Your garage door may occasionally have a cable or wire dangling nearby, or you may discover that the door is not functioning despite the springs appearing in good condition. It simply indicates that there is a problem and that your garage door has to be improved.
01
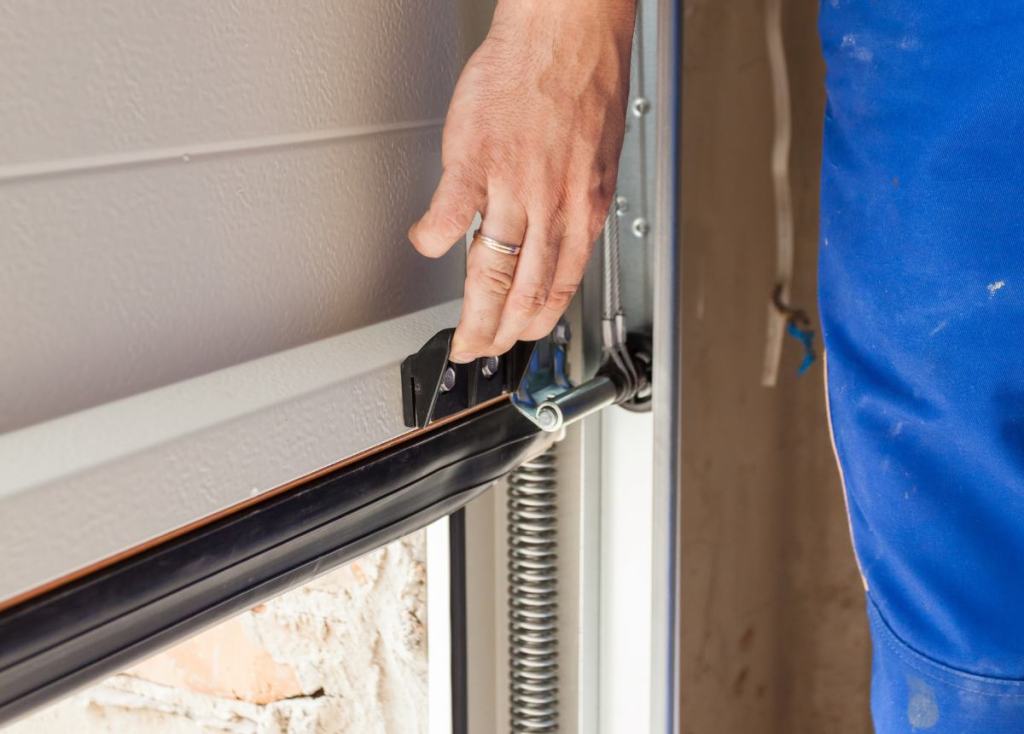
Close the Door
Attach a locking pair of pliers or a g-clamp on the line directly above one of the rollers. Furthermore, disconnect the cable and unplug the garage door opener before beginning any spring and cable repairs.
02
To Release Working Springs
Insert a rotating bar into the winding rod of the strong spring's bottom hole. Hold the bars in place while the two set screws become less tight. Sit down; the spring will move with considerable torque as the bolts loosen. Then, wind down the loose springs from the central bracket first.
03
Keeping the Torsion Tube Secure
Release the set screws on both sides of the lift cable drum, detach the lift cables, and clamp a tightening pin or a g-clamp onto the middle bracket to hold the torsion tube in the bracket. To remove the cable drum, slide the torque tube to the right from the left side of the frame. The tube from the original spring should then slide out.
04
Replacement of Rollers, Lift Cables, and Brackets
Clip the lift cable loop onto the new bottom bracket over the bolt after fastening the left spring and center bearings. Install the replacement roller after installing the fresh cables and brackets at the base.
05
Secure the Cables
Push the wire or hoist cables between the door frame and the rollers. Pull the cable lift stop over the drum slot after that. Equalize the stress to strengthen the drums.
06
Stretching and Winding Springs
Wind a rotating rope into a cone and drag it upward. One-quarter switch at a time, outrun the bars as you switch the spring. Before the set screws are fastened, expand the spring by roughly 1/4 inch using the rotating bar.
Ready to Restore Your Garage Door's Functionality?
Don’t let damaged garage door cables disrupt your daily routine or compromise your safety. Contact Garage Color today to schedule an appointment with our expert technicians. Whether you need cable repairs or replacements, we’re here to provide reliable and efficient solutions. Take the first step toward a properly functioning garage door!